
Yolki and Shelly Incredible EGG-imals - Free Crochet Pattern!
- Jessica Richardson
- May 9, 2023
- 5 min read


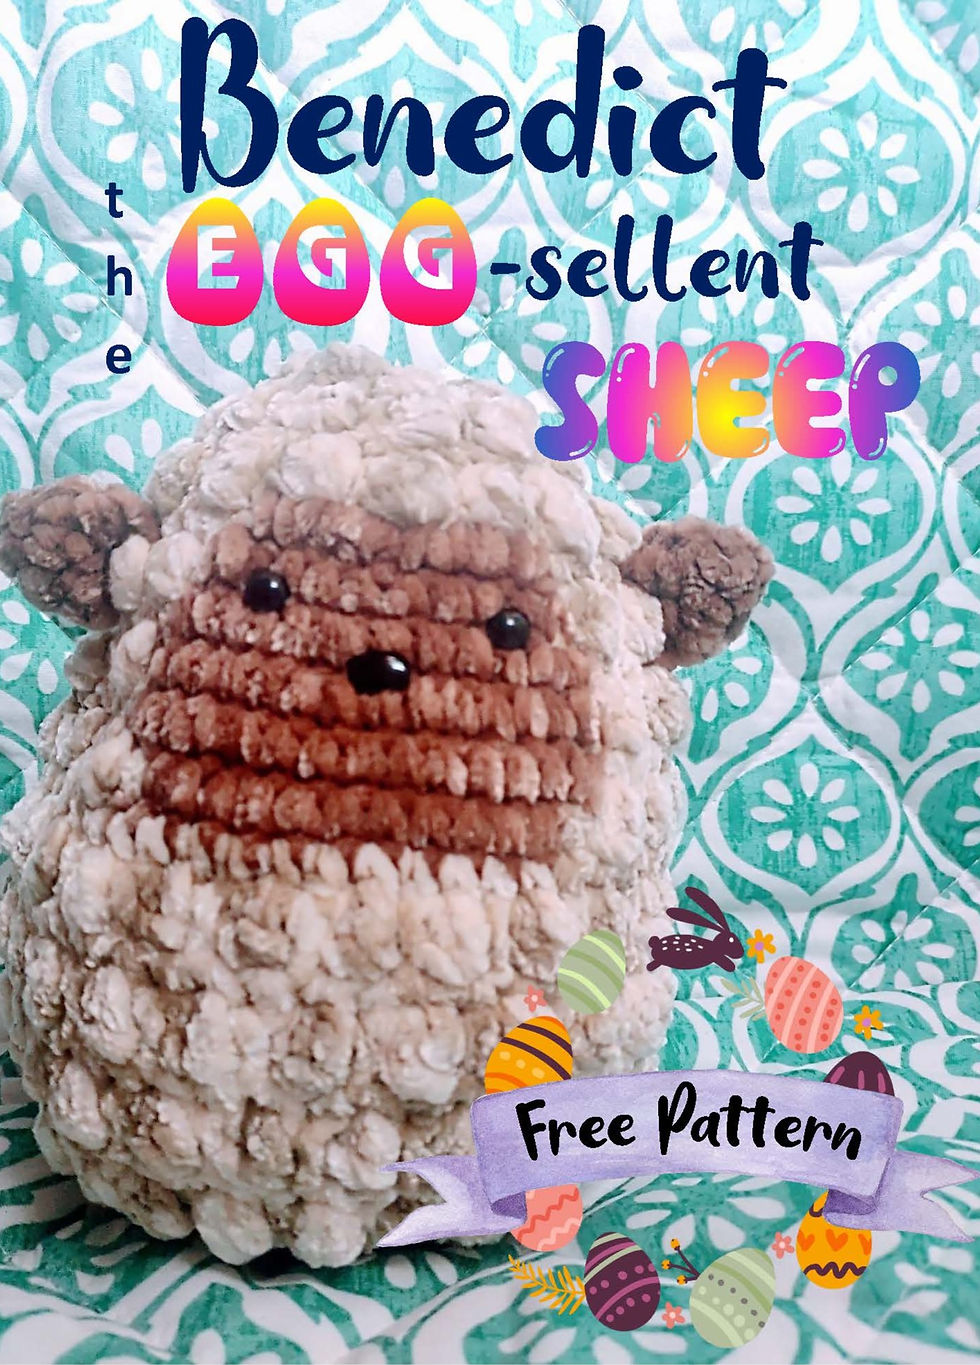
Everyone needs a friend. Yolki and Shelly are the two of the best! These incredible EGG-imals, along with Benedict the EGG-sellent Sheep, are a cuddly group of pals perfect for any spring time play date. Simple construction with few frills make them the perfect companions for the littlest of littles in our lives. They are a beginner friendly make that can easily be done in just a few hours. So grab a hook, some of your favorite bulky yarn and make some new friends!
Important Notes
· Please read the entire pattern before beginning
· This pattern is written using US Crochet terminology.
· The pattern is made in the round without joining unless otherwise stated. A locking stitch marker will be helpful in keeping track of the first stitch of each round. Move it as necessary.
· This pattern, like other amigurumi patterns, is worked in a tight tension. Some makers may find it useful to size down a hook size or two if they find that their tension is to loose. Tight tension is necessary to ensure that the plushie will achieve the correct shape.
· The use of 7mm safety eyes and 6 mm safety nose can be substituted for embroidered eyes and nose for children under the age of 3.
· Some tutorial pictures are done with worsted weight yarn as the suggested yarn does not have enough stitch definition to be tutorial friendly.
Materials:
· MC: Bernat Velvet Yarn in Golden Moss for Yolki and Smokey Blue for Shelly or other Bulky/ Cat.5 yarn
· 5 mm crochet hook
· Locking stitch markers
· 7 mm Safety eyes
· 6 mm safety nose
· Tapestry needle
· Poly-fil stuffing
· Scissors
Special techniques and stitches-
Locking Magic Circle: Place the tail end of yarn in the palm of hand, with the end at the bottom and the yarn running upwards. Wrap the yarn around two fingers twice. Insert the hook from right to left under the two strands of yarn and grab the working end of the yarn with the hook. Use the hook to pull this loop of yarn back under the other strands leaving it on the hook (Fig 1-4). Chain 1 stitch. Carefully remove the yarn from fingers, being sure that the strands do not tangle or change position (Fig. 5 & 6). The Locking Magic Circle is now ready to work the stitches of the first round into it (Fig 7). Once the first round is complete, tighten the circle by pulling the tail end of the yarn to see which of the two loops start to tighten (Fig. 8). Pull the top of the loop that tightened when the tail end was pulled to cinch the second loop until it will not tighten any more (Fig. 9 & 10). Pull the tail end of the yarn again to tighten the second loop until the circle is completely closed (Fig. 11 &12).


Inc- Increase- crochet 2 sc into one st.
InvDec- Invisible Decrease- Place hook through the front loops of two consecutive sts, yarn over and pull up a loop (two loops on hook), yarn over and pull through two loops (one loop on hook). Decrease made.

Pattern
This pattern is crochet continuously in the round without turning, unless otherwise stated.
Shelly's Cheeks: Make 2
Rnd 1: 6SC in to a Locking Magic Circle. DO NOT JOIN! Tighten the ring closed.
Break yarn, fasten off and set aside for later.
Yolki's Beak:
Rnd 1: 6SC into Locking magic Circle.
Rnd 2: *Inc, 2SC* two times. (8 sts)
Rnd 3: *Inc, 3SC* two times. (10 sts)
Rnd 4: *Inc, 4SC* two times. (12 sts)
Break yarn, fasten off and set aside for later.
Body: for both Yolki and Shelly
Rnd 1: 8 SC into a Locking Magic Circle. (8 sts)
Rnd 2: *Inc* in each st around. (16 sts)
Rnd 3: *SC, Inc* around. (24 sts)
Rnd 4: *SC* in each st around. (24 sts)
Rnd 5: *2 SC, Inc* around. (32 sts,)
Rnd 6: *SC* in each st around. (32 sts)
Rnd 7: *3SC, Inc* around. (40 sts)
Rnd 8: *SC* in each st around. (40 sts)
Rnd 9: *4SC, Inc* around. (48 sts)
Rnds 10-26: *SC* in each st around. (48 sts)
Eye, Nose, and Beak Placement
Before starting the decrease rounds place the eyes for both Yolki and Shelly between rnds 10 and 11. Space them 5-6 sts apart. The nose for Shelly the Bunny should then be placed between rnds 12 and 13 centered between the eyes (Fig. 1). Place Shelly’s cheeks on either side of the nose. Be sure that they are even with the top of the nose and wrap to where they touch underneath it (Fig. 2 & 3). Sew in place (Fig. 4).


Fold Yolki’s beak so that it is flat. When flat, one side should be shorter than the other side (Fig. 1). The longer side should be placed between the eyes and sewn in place (Fig. 2). Still flattening the beak, push it down so that the longer portion is flat against Yolki’s face creating the “nose” part of the beak, sew it down so that that it secured between rnds 12-13 (Fig. 3). The shorter portion should now be touching between rnds 13-14. Sew the bottom of the beak to rnd 14 (Fig. 4).


Body Cont.
Rnd 27: *4SC, InvDec* around. (40 sts)
Rnd 28: *3SC, InvDec*around. (32 sts)
Rnd 29: *2SC, InvDec* around. (24 sts)
Using Poly-Fil or other appropriate fill material; stuff the body until it easily retains an egg-like shape and is still huggably soft. Be sure to not stuff so firmly that it warps the shape of the body and stretches the stitches out.
Rnd 30: *SC, InvDec* around. (16 sts)
Rnd 31: *InvDec* around. (8 sts)
Break yarn leaving a long tail. Close the remaining hole by using the tail to sew it close (Fig. 1&2). Fasten off and hide the tail in the body.


Shelly's Ears: make 2
Rnd 1: 6SC into Locking Magic Circle
Rnd 2: Inc in each st around. (12 sts)
Rnd 3: *Sc, Inc* in each st around. (18 sts)
Rnd 4: *8SC, Inc* two times. (20 sts)
Rnd 5-8: SC in each st around.
Rnd 9: *8SC, InvDec* two times. (18 sts)
Rnd 10: SC in each st around.
Rnd 11: *7SC, InvDec* two times. (16 sts)
Rnd 12: SC in each st around.
Rnd 13: *6SC, InvDec* two times. (14 sts)
Rnd 14: SC in each st around
Rnd 15: *5SC, InvDec* two times. (12 sts)
Rnd 16: SC in each st around.
Rnd 17: *4SC, InvDec* two times. (10 sts)
Rnds 18-23: SC in each st around.
Break Yarn leaving a long tail. Press the ear flat and seam the open end closed. Sew onto Shelly placing the ears on rnd 3 (Figures 1-3). Fasten off and hide the rest of the tail in the body of Shelly.


Yolki's Wings: make 2
Rnd 1: 6SC in to Locking Magic Circle
Rnd 2: Inc in each st around. (12 sts)
Rnd 3: *Sc, Inc*, around. (18 sts)
Rnd 4: 2SC, (SC, HDC) in next st, HDC, DC, (DC, TR) in next st, TR. Turn (9 sts)
Rnd 5: Ch1, 9 SC, remove BOR marker and SLST in the next 11 sts.
Break Yarn and fasten off. Sew wings on to either side of Yolki placing the tops of the wings even with the bottom of the beak and spaced roughly 3 fingers width from it (Figures 1-3). The tips of the wings should face away from the face. One will be sewn with what is traditionally viewed as the WS of the fabric facing outwards.


Yolki's Head Feathers:
Place the hook from rnd 1 through to the center of the magic circle (Fig. 1). Place a slip knot on the hook and pull through (Fig. 2 & 3).
Feather 1: CH6, turn, Sc in second st from hook and the following 4 chs. Sl st into magic circle.(5 sc) (Fig. 4)
Feather 2: CH8, turn. Sc in second st from hook and the following 6 chs. Sl st into magic circle. (7 sc) (Fig. 5)
Feather 3: CH6, turn. Sc in second st from hook and the following 4 chs. Sl st into magic circle. Fasten off and break yarn. Hide ends within the body of Yolki. (Fig. 6)


The thread quality and finishing make the design stand out beautifully.
custom embroidery service
This post is playful and creative, and the Yolki and Shelly pattern stands out for its fun character design while still being clear enough for crafters to follow step by step. If you’re also creating craft
content or pattern visuals, Color Mixer is a great tool for testing cheerful, well-balanced color combinations quickly.
Really helpful post! One thing I was curious about do you have any advice for best botox doctors in orlando? Would love to hear your thoughts.
link link link link link link link link link link link link link link link link link link link link link link link link link link link link link link link link link link link link link link link link link link link link link link link link link link link link link link link link link link link link link link link link link link link link link link link link link link link link link link link link link link link link link link link link link link link link link link link link link link link link link link link link link link link link link link link link link link link link link link link link link link link link link link link link