
Benedict the EGG-sellent Sheep - Free Crochet Pattern!
- Jessica Richardson
- Apr 7, 2023
- 6 min read

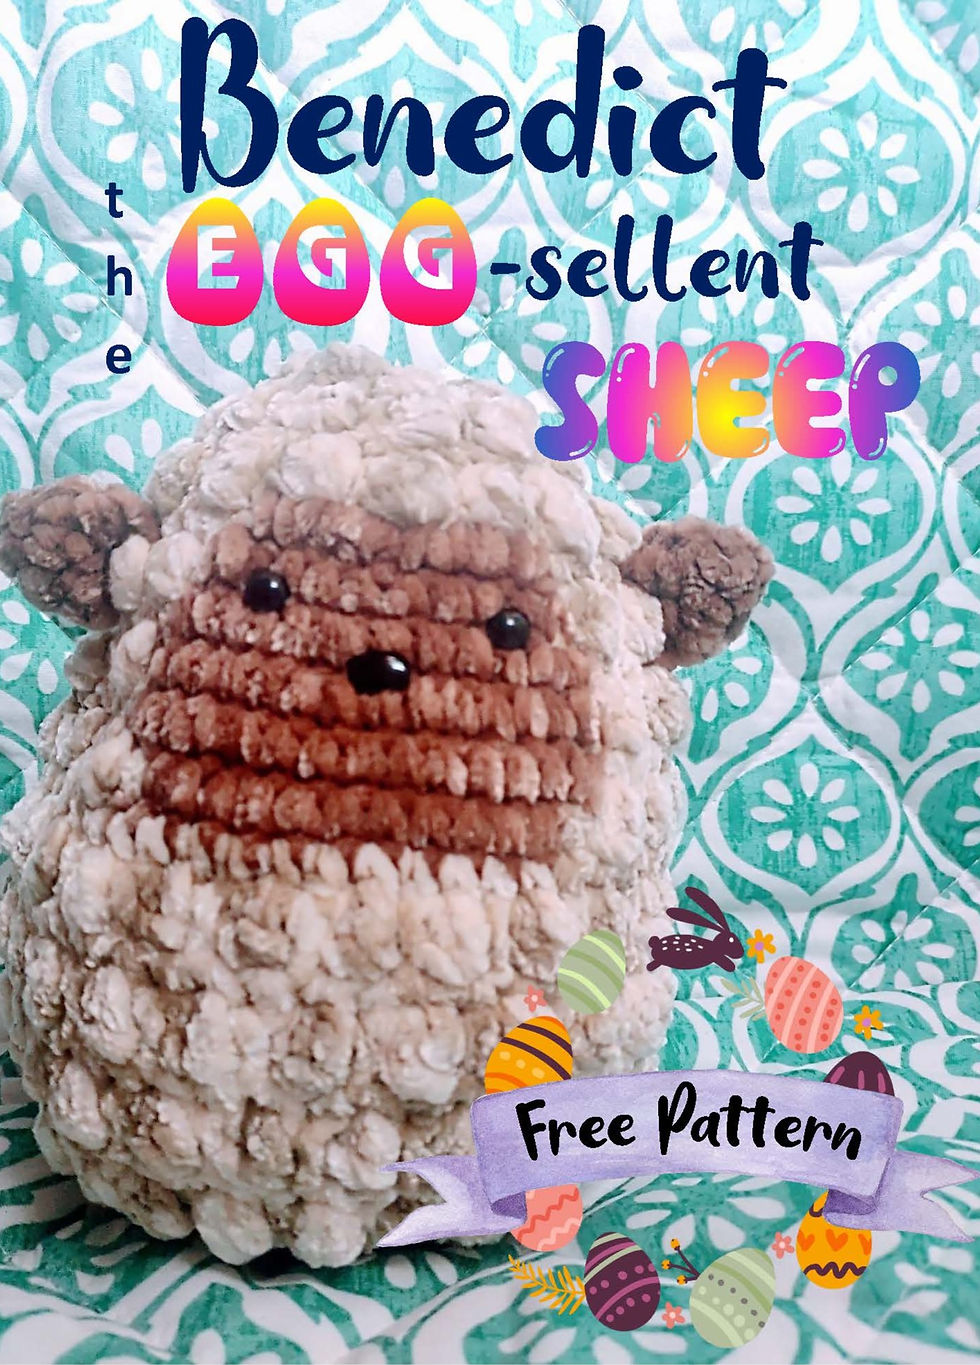
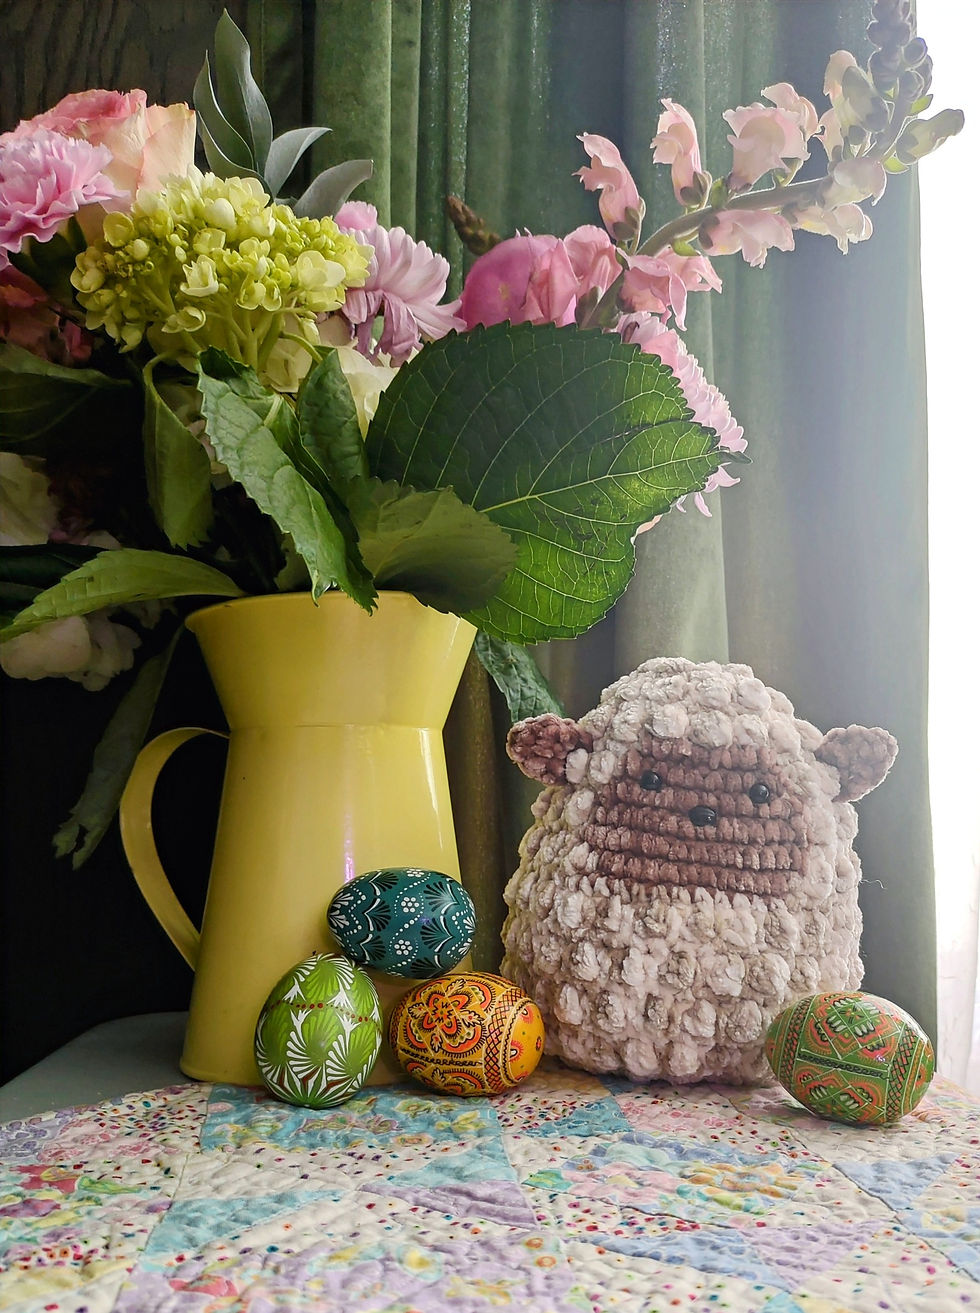
Spring has sprung in most of the upper hemisphere. But here in the northern most parts of North America there is still a thick blanket of snow hiding all the wonderful flora and fauna. Hints of the earth's awaking is all around us. Birds are returning. Small creatures can be seen leaving their warm nests to venture into the warmth of the sun after winters long hibernation. But the need for warmth and comfort are very much needed no matter the season. Benedict the EGG-sellent Sheep would like to offer himself up for extra long cuddles and just a few kisses. He has a particular love for the littles in our lives. He is a beginner friendly make that can easily be done in just a few hours. So grab a hook, some of your favorite bulky yarn and get to know him!
Important Notes
· Please read the entire pattern before beginning
· This pattern is written using US Crochet terminology.
· The pattern is made in the round without joining unless otherwise stated. A locking stitch marker will be helpful in keeping track of the first stitch of each round. Move it as necessary.
· This pattern, like other amigurumi patterns, is worked in a tight tension. Some makers may find it useful to size down a hook size or two if they find that their tension is to loose. Tight tension is necessary to ensure that the plushie will achieve the correct shape.
· The use of 7mm safety eyes and 6 mm safety nose can be substituted for embroidered eyes and nose for children under the age of 3.
· Carry the MC by crocheting over the MC when doing the CC sections, but DO NOT crochet over the CC in the MC sections. Let the CC hang behind and follow the tutorial provided.
· It is suggested to use 2 colors of yarn for this pattern. However, it is not necessary to do so. If a monochromatic Sheep is desired, work all CC sections in the MC.
· Some tutorial pictures are done with worsted weight yarn as the suggested yarn does not have enough stitch definition to be tutorial friendly.
Materials:
· MC: Bernat Crushed Velvet Yarn in White or other Bulky/ Cat.5 yarn
· CC: Bernat Velvet Yarn in Mushroom of other Bulky/ Cat. 5 yarn
· 5 mm crochet hook
· Locking stitch markers
· 7 mm Safety eyes
· 6 mm safety nose
· Tapestry needle
· Poly-fil stuffing
· Scissors
Special techniques and stitches-
Locking Magic Circle: Place the tail end of yarn in the palm of hand, with the end at the bottom and the yarn running upwards. Wrap the yarn around two fingers twice. Insert the hook from right to left under the two strands of yarn and grab the working end of the yarn with the hook. Use the hook to pull this loop of yarn back under the other strands leaving it on the hook (Fig 1-4). Chain 1 stitch. Carefully remove the yarn from fingers, being sure that the strands do not tangle or change position (Fig. 5 & 6). The Locking Magic Circle is now ready to work the stitches of the first round into it (Fig 7). Once the first round is complete, tighten the circle by pulling the tail end of the yarn to see which of the two loops start to tighten (Fig. 8). Pull the top of the loop that tightened when the tail end was pulled to cinch the second loop until it will not tighten any more (Fig. 9 & 10). Pull the tail end of the yarn again to tighten the second loop until the circle is completely closed (Fig. 11 &12).


MC- Main Color
CC- Contrast Color
Increase (Inc)- crochet 2 sc into one st.
4 Double Crochet Bobble (4DC-BO)- Yarn over the hook from back to front before placing the hook in the stitch (2 loops on hook). Wrap the yarn over the hook and draw the yarn through the stitch (3 loops on hook). Wrap the yarn over the hook again and pull it through the first two loops on the hook (2 loops on hook). One half-closed double crochet is complete. In the same stitch, repeat the preceding steps three more times (5 loops on hook). Wrap the yarn over the hook and draw the yarn through all 5 loops on the hook. One 4-dc-bobble-stitch is complete.
4 Double Crochet Bobble Decrease (4DC-BO-Dec)- Yarn over the hook from back to front before placing the hook in the stitch (2 loops on hook)(Fig. 1). Wrap the yarn over the hook and draw the yarn through the stitch (3 loops on hook)(Fig. 2 & 3). Wrap the yarn over the hook again and pull it through the first two loops on the hook (2 loops on hook)(Fig. 4 & 5). One half-closed double crochet is complete. In the same stitch, repeat the preceding steps once more (3 loops on hook)(Fig. 6 & 7). In the next stitch repeat the preceding steps twice more (5 loops on hook)(Fig. 8 &9). Wrap the yarn over the hook and draw the yarn through all 5 loops on the hook(Fig. 10). One 4-dc-bobble-decrease stitch is complete.


Invisible Decrease (InvDec)- Place hook through the front loops of two consecutive sts, yarn over and pull up a loop (two loops on hook), yarn over and pull through two loops (one loop on hook). Decrease made.

Pattern
Benedict is crochet continuously in the round without turning.
Body:
Rnd 1: 8 SC into a Locking Magic Circle. (8 sts)
Rnd 2: *SC, 4DC-BO in same st* in each st around. (16 sts total, 8 BO)
Rnd 3: *SC, Inc* around. (24 sts)
Rnd 4: *SC, 4DC-BO* around. (24 sts total, 12 BO)
Rnd 5: *2 SC, Inc* around. (32 sts,)
Rnd 6: *SC, 4DC-BO) around. (32 sts total, 16 BO)
In the next section a CC will be used. Work up to the last st before the color change but do not fully complete the st. Using the CC finish the st. This is to ensure a smooth transition between colors and should be done whenever changing from one color to another(Fig 1 & 2). Work over the live MC strand, sandwiching it in the CC sts (Fig. 3 &4). When the CC section of the Rnd is finished drop the CC and DO NOT carry it in the MC sections. Follow the pattern as written up to the next CC section. Pull the CC yarn so that a strand the length of the previous CC section (Fig. 5). Pull a loop through, creating the color transition; be sure that the part of the yarn that is attached to the previous row is looped over the front of the hook and the working end trails over the back (Fig. 6 & 7). Adjust the strand of CC that will be worked over to ensure it is not too tight or too loose (Fig. 8). With the MC held behind the CC strand, work over both (Fig. 9 & 10). If done correctly neither strand should be visible (Fig. 11). Repeat for each CC section, Breaking the CC yarn when no longer needed and secure.


Rnd 7: *3SC, Inc* three times, SC, Switch to CC, 2SC, Inc, 4SC, Switch back to MC, Sc in same st as last SC made, *3SC, Inc* to end. (40 sts)
Rnd 8: * SC, 4DC-BO* Repeat 7 times, Switch to CC, 10 SC, Switch back to MC, *4DC-BO, SC* 7 times, 4DC-BO. (40 sts, 15 BO)
Rnd 9: *4SC, Inc* two times, 5SC, Switch to CC, SC in same st as last SC made, *4SC, Inc* two times, SC, Switch to MC, 3SC, *Inc, 4 SC* two times, Inc. (48 sts)
Rnd 10: *SC, 4DC-BO* 8 times, SC, Switch to CC, 14SC, Switch to MC, * 4DC-BO, SC* 8 times, 4DC-BO. (48 sts total, 17 BO)
Rnd 11: 17SC, Switch to CC, 14SC, Switch to MC, 17SC. (48 sts)
Rnd 12: * SC, 4DC-BO* 9 times, SC, Switch to CC, 11SC, Switch to MC, *SC, 4DC-BO* 9 times. (48 sts total, 18 BO)
Rnd 13: SC in each st around. (48 sts)
Rnd 14: *SC, 4DC-BO* around. (48 sts total, 24 BO)
Rnds 15-20: Repeat Rnds 13-14 three more times (6 rnds total)
Eye and Nose Placement:
Before starting the decrease rounds place the eyes between rnds 8 and 9 on the CC section. Space them 5-6 sts apart with at least 1 CC st on the outer sides fo the eyes. The nose should then be placed between rnds 9 and 10 on the CC sections centered between the eyes.

Body Cont.
Rnd 21: *4SC, InvDec* around. (40 sts)
Rnd 22: *SC, 4DC-BO, SC, 4DC-BO-Dec*around. (32 sts total, 16 BO)
Rnd 23: *2SC, InvDec* around. (24 sts)
Using Poly-Fil or other appropriate fill material; stuff the body until it easily retains an egg-like shape and is still huggably soft. Be sure to not stuff so firmly that it warps the shape of the sheep and stretches the stitches out.
Rnd 24: *SC, 4DC-BO-Dec* around. (16 sts)
Rnd 25: *InvDec* around. (8 sts)
Break yarn leaving a long tail. Close the remaining hole by using the tail to sew it close. Fasten off and hide the tail in the body of Benedict.


Ears: make 2
Rnd 1: 4SC into Locking Magic Circle
Rnd 2: Inc in each st around. (8 sts)
Rnd 3: Sc in each st around. (8 sts)
Break Yarn leaving a long tail. Press the ear flat and seam the open end closed (Fig. 1). Fold in half and tack stitch the two corners together so the ear stays folded (Fig. 2 &3). Sew onto Benedict placing the ears even or slightly above the eyes, spaced roughly 2 bobbles away from the CC face (Fig. 4). Fasten off and hide the rest of the tail in the body of Benedict.


Comments